CELPIP Speaking Task 3: Describe a Scene (Complete CLB 9 Strategy + Sample Answer)
Introduction
CELPIP Speaking Task 3 (Describe a Scene) is often underestimated because it looks simple: you just describe what you see. However, in the real exam, this task quickly exposes whether a candidate can observe, organize, and speak clearly under pressure.
Many students struggle here because they try to “translate everything they see into words” at once. This leads to confusion, long pauses, and incomplete descriptions. Others over-focus on small details and lose the overall structure of the scene.
Describing a scene in Task 3 is an important part of the CELPIP Speaking test, but your final score depends on how well you perform across all speaking tasks together. A complete system ensures consistency and fluency. You can understand this full system in CELPIP Speaking Mastery: Complete Strategy for All Tasks.
To score CLB 9, you do not need artistic description or advanced vocabulary. You need a clear observation system that helps you describe the scene in a logical, step-by-step way.
Learning Objectives
By the end of this lesson, you will be able to:
- Understand how Task 3 (Describe a Scene) works in CELPIP Speaking
- Use a structured method to describe visuals clearly
- Organize observations logically and smoothly
- Speak without hesitation under time pressure
- Focus on relevant details instead of random description
- Improve fluency and clarity in visual speaking tasks
Overview: What Task 3 Really Tests
Task 3 presents you with a visual scene (such as a picture or situation), and you are asked to describe what is happening.
The scene may include:
- People interacting
- Daily life situations
- Public places like parks, offices, or streets
- Activities happening at the same time
The key challenge is not vocabulary. The real challenge is selecting what to describe and in what order.
Most students fail because they:
- Describe everything randomly
- Jump between details without structure
- Spend too long thinking instead of speaking
- Forget to describe the main focus of the scene
A strong system solves all of these problems. To perform well in Task 3, you need a clear structure for describing visuals, but this structure is part of a larger speaking framework used across all CELPIP tasks. This complete framework is explained in CELPIP Speaking Mastery Complete Strategy Guide.
What CLB 9 Means in Task 3
CLB 9 in Task 3 does NOT mean:
- Creative storytelling
- Complex descriptive vocabulary
- Emotional interpretation of the scene
CLB 9 actually means:
- Clear and organized description
- Logical movement from general to specific details
- Smooth and continuous speaking
- Accurate but simple language
Examiners are not testing imagination. They are testing clarity and control in description. Achieving CLB 9+ in Task 3 requires strong observation skills, fluency, and consistent performance across all speaking tasks, not just scene description. You can build these skills using CELPIP Speaking Mastery for High Band Scores.
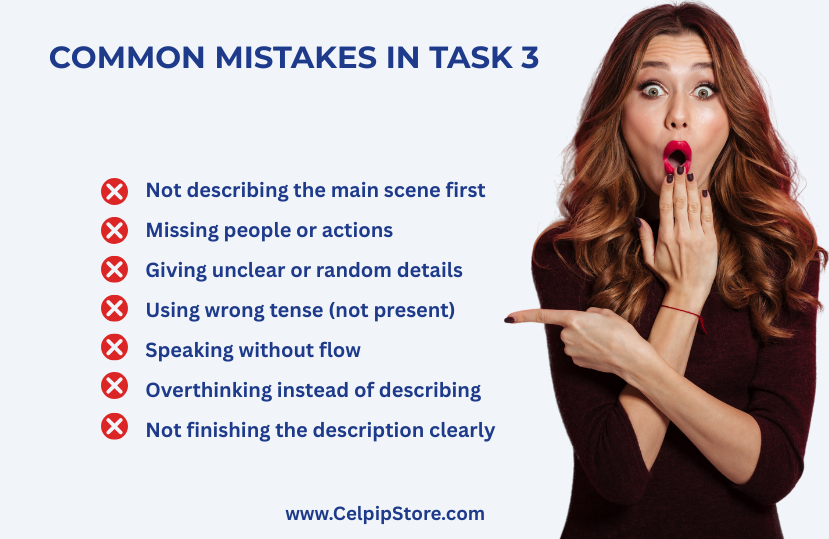
Common Mistakes Students Make in Task 3 (Describe a Scene)
- Starting to describe random small details without giving a clear overall picture of the scene first
- Jumping between different parts of the image without any logical order or structure
- Focusing too much on minor background elements instead of the main action or people in the scene
- Trying to describe everything they see, which leads to confusion and loss of fluency
- Pausing frequently while searching for vocabulary instead of continuing with simple descriptions
The Core Idea: You Don’t Describe Everything — You Organize What You See
In Task 3, most students try to describe every single detail in the image at once. This creates confusion, hesitation, and a loss of fluency.
CLB 9 candidates do something different. They don’t “describe randomly.” They scan, prioritize, and structure what they see.
Instead of reacting emotionally to the image, they follow a fixed system that turns any visual into a clear spoken description.
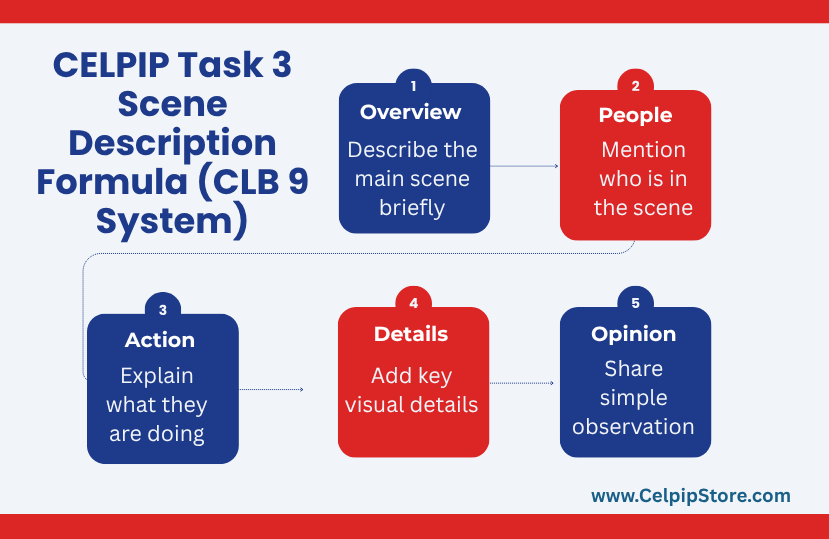
CLB 9 Scene Description Framework (Universal Structure)
Use this step-by-step method for every Task 3 question.
1. Opening Line (General Overview)
Start immediately with a broad description of the scene. Do not jump into small details.
You can use:
- “In this picture, I can see a busy public place…”
- “This image shows a group of people in a…”
- “It looks like this is happening in a…”
This step gives structure and prevents confusion.
2. Main Focus (Central Action)
Now identify the main action or most important part of the scene.
Focus on:
- What people are doing
- The main activity happening
- The central subject of the image
Example:
- “The main focus seems to be a group of people having a discussion…”
This helps the examiner immediately understand the core idea.
3. Supporting Details (People + Actions)
Next, describe supporting elements in the scene.
You can include:
- People in the background
- Their actions
- Their roles or behavior
Keep descriptions simple and logical.
Example:
- “In the background, there are a few people walking and talking…”
4. Environment Description (Place + Setting)
Now describe the surroundings.
Include:
- Location (park, office, street, classroom, etc.)
- Objects or environment details
- Overall atmosphere
Example:
- “The scene appears to be set in a public park with trees and benches…”
5. Logical Flow (Connect Observations)
Instead of listing details, connect them smoothly.
Use linking phrases:
- “At the same time…”
- “In addition…”
- “Meanwhile…”
This creates natural flow and improves coherence.
6. Closing Line (Overall Impression)
End your response with a simple summary or impression.
You can say:
- “Overall, it seems like a normal day in a public place.”
- “The scene looks active and full of movement.”
- “This appears to be a typical everyday situation.”
A clear ending improves structure and fluency.
Why This Framework Works
This system works because it removes the biggest challenge in Task 3: overload of visual information.
Instead of trying to describe everything at once, your mind follows a simple pattern:
Overview -> Main Action -> Details -> Environment -> Flow -> Closing
This makes your response organized, calm, and easy to follow.
Fluency in Task 3: The Real Skill Is “Controlled Observation”
In Task 3, many students think they must describe everything they see in detail. This is the fastest way to lose fluency. When your mind tries to process too much information at once, your speech becomes slow, fragmented, and unclear.
CLB 9 performance is not about describing more. It is about describing better and in order. You should always control what you describe first, second, and last.
A strong candidate does not “react” to the image. They guide the description step by step.
Examiner Insight: What Actually Gets High Scores
In CELPIP Speaking Task 3, examiners are not testing how creative or detailed your description is. They are evaluating how clearly you can communicate what is visible in a structured way.
There are four scoring areas:
1. Task Completion
Did you describe the main idea of the image?
Strong answers identify the central action and stay focused on it.
2. Coherence
Is your description logically organized?
A clear flow from general -> specific -> summary is essential.
3. Fluency
Do you speak continuously without long pauses?
Minor pauses are acceptable, but frequent stopping reduces your score.
4. Language Use
Is your language clear and natural?
Simple, accurate sentences are more effective than complex expressions.
Natural Observation Language (CLB 9 Style)
One of the most effective strategies in Task 3 is using simple observational English instead of descriptive exaggeration.
Instead of trying to sound advanced, use natural phrases:
- “I can see…” instead of “it is evident that…”
- “It looks like…” instead of “it appears to be the case that…”
- “There are people who are…” instead of “individuals are engaged in…”
- “In the background…” instead of “in the distant area of the image…”
This keeps your speech smooth, natural, and easy to follow.
5-Second Idea Strategy for Task 3 (SCAN METHOD)
The biggest challenge in Task 3 is deciding what to describe first. You do not need to analyze everything. You only need a quick scanning system.
Use this method:
SCAN = Subject -> Context -> Action -> Nature
- Subject: Who or what is in the image?
- Context: Where is it happening?
- Action: What is happening?
- Nature: What is the overall situation?
Example:
- Subject: People
- Context: Park
- Action: Walking and talking
- Nature: Casual social activity
This allows you to start speaking immediately without confusion.
_.png "SCAN_Method_(5-Second_Idea_System)_.png")
Sample CLB 9 Response Style
“In this image, I can see a group of people in what looks like a public park. The main focus of the scene appears to be a few people sitting together and having a conversation.
In the background, there are other individuals walking and enjoying the surroundings. The park has trees and benches, which suggests it is a peaceful outdoor environment.
At the same time, some people seem to be relaxing while others are moving around, which shows a normal daily activity in a public space. Overall, the scene looks calm and active at the same time.”
Practice Strategy Used by High Scorers
High-performing students do not memorize descriptions. Instead, they practice visual control skills:
- Practicing 30-second scene breakdowns
- Describing random images using the same structure
- Training to speak without stopping even if language is simple
- Focusing on sequence rather than detail accuracy
This builds automatic visual fluency under exam pressure.
Complete Summary of Task 3 Strategy
CELPIP Speaking Task 3 (Describe a Scene) becomes simple when you stop trying to describe everything you see and instead follow a controlled observation system.
The main challenge is not vocabulary or imagination. It is your ability to organize visual information into a clear spoken flow under time pressure.
Once you apply a fixed structure, any image becomes easy to describe in a logical and confident way.
Final CLB 9 Checklist (Before Speaking)
Before you start speaking, quickly guide yourself using this checklist:
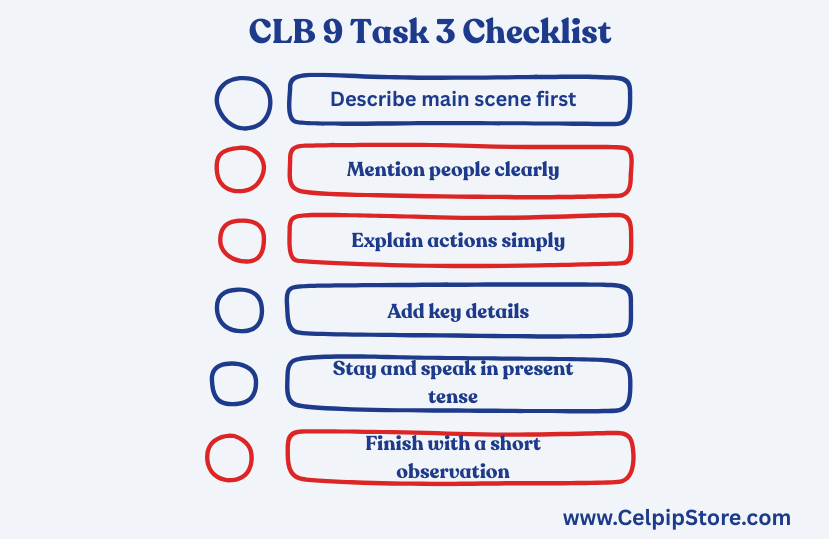
Structure
- I will start with a general overview
- I will identify the main focus first
- I will describe supporting details
- I will explain the environment
- I will maintain logical flow
- I will end with a summary
Fluency
- I will not pause too often
- I will keep speaking even if sentences are simple
- I will avoid overthinking vocabulary
Content
- I am focusing on the main scene, not small random details
- I am describing in order (not randomly)
- I am staying relevant to the image
Language
- I will use simple observation language
- I will focus on clarity, not complexity
- I will speak naturally, not memorized
Exam-Day Strategy (Very Important)
In the actual CELPIP exam, your goal is control, not perfection.
Start immediately with a general description of the scene. This prevents hesitation and gives your response a clear direction.
Then follow your structure step by step without stopping to think about “perfect words.” Keep moving through the image logically.
If you make a mistake, continue speaking. Do not restart. Fluency matters more than accuracy.
Common Mistakes to Avoid (Final Reminder)
- Trying to describe every single detail in the image
- Starting with small details instead of a general overview
- Losing order of description (jumping randomly)
- Pausing frequently to search for vocabulary
- Using complex language instead of clear observation
- Forgetting to give a proper closing summary
These mistakes reduce clarity and directly affect CLB scoring. Many candidates lose marks in Task 3 because they do not understand how CELPIP Speaking is evaluated as a complete system, which affects their overall performance. To fix this, refer to CELPIP Speaking Mastery Complete Scoring Strategy.
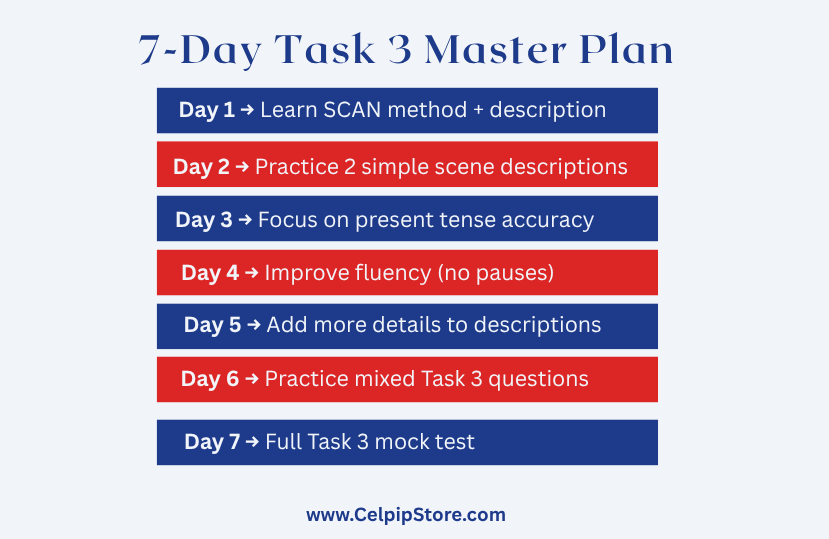
Final Practice Plan (Task 3 Mastery System)
To master Task 3, follow this structured training plan:
Day 1–2: Structure Training
Focus only on learning the SCAN system:
Subject -> Context -> Action -> Nature
Day 3–4: Guided Image Practice
Describe different images using the same framework. Focus on flow, not detail.
Day 5–6: Timed Speaking Practice
Practice 30–60 second responses under exam conditions without stopping.
Day 7: Full Mock Test
Practice multiple images back-to-back to build visual fluency and confidence.
Practicing scene description is important, but you must also practice all speaking tasks together to improve fluency, timing, and confidence under exam conditions. Follow the full system in CELPIP Speaking Mastery Complete Preparation Strategy.
Final Success Insight
Task 3 is not a test of imagination. It is a test of structured observation under pressure.
Once you master the system, you will always know:
- What to describe first
- How to continue logically
- How to finish clearly
This consistency is what leads to CLB 9 performance. Mastering Task 3 is a strong step, but your final score depends on how well you handle the entire speaking section as a complete system. Start with CELPIP Speaking Mastery Complete Guide for All Tasks.